

Hey there! As a supplier of LCD Display Pump Switches, I often get asked about the steps to upgrade to these nifty devices. So, I thought I'd break it down for you in this blog post.
Step 1: Assess Your Current Setup
Before you jump into upgrading to an LCD display pump switch, you need to take a good look at your existing pump system. Check the type of pump you have, its power requirements, and the overall setup. This will help you determine if your current system can support an LCD display pump switch.

For instance, if you have an old mechanical pump system, you might need to make some adjustments or even consider upgrading other components. Look at the wiring, the pressure settings, and the overall functionality of your current switch. If you're using a Mechanical Switches, you'll notice that they're often less precise and harder to adjust compared to LCD display pump switches.
Step 2: Research and Choose the Right LCD Display Pump Switch
Once you've assessed your current setup, it's time to start researching the different LCD display pump switches available in the market. There are a lot of options out there, so you need to find one that suits your specific needs.
Consider factors like the display size, the type of information it can show, the ease of use, and the durability. You also want to make sure that the switch is compatible with your pump system. Look for features like adjustable pressure settings, which can be really handy. Our Adjustable Pressure Controller is a great option if you need precise control over your pump's pressure.

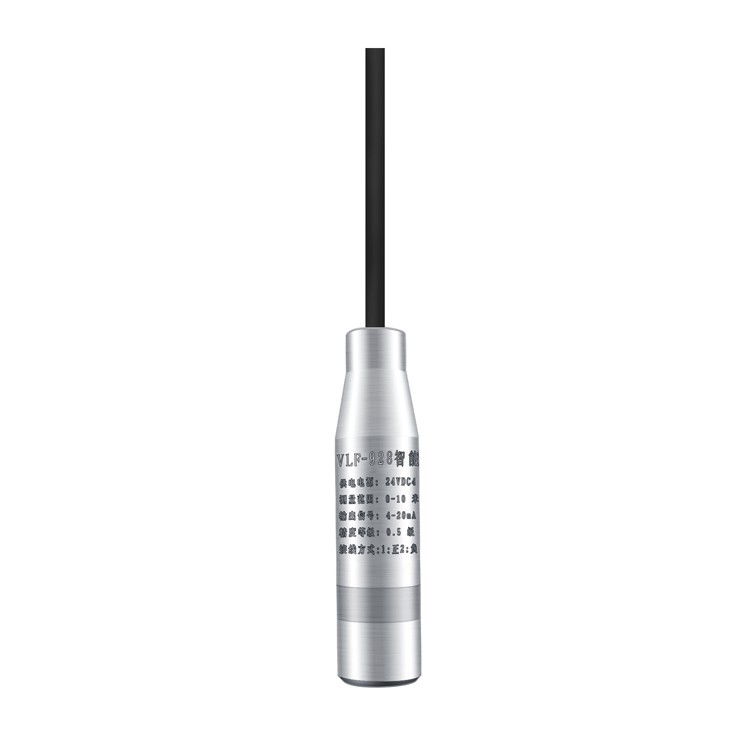
Another important feature to look for is the ability to integrate with other sensors. For example, a Liquid Level Sensor can work in tandem with the LCD display pump switch to provide more accurate information about the water level in your tank.
Step 3: Gather the Necessary Tools and Materials
Before you start the installation process, make sure you have all the tools and materials you need. This includes things like screwdrivers, wire cutters, electrical tape, and of course, the LCD display pump switch itself.
It's also a good idea to have a voltage tester on hand to ensure that the power is off before you start working on the electrical connections. Safety first, right?
Step 4: Turn Off the Power
This is a crucial step. Before you do anything else, turn off the power to your pump system. You don't want to get electrocuted while you're installing the new switch.
Locate the main power switch for your pump and switch it off. You can also double-check by using a voltage tester to make sure there's no power running through the wires.
Step 5: Remove the Old Switch
Once the power is off, it's time to remove the old switch. Start by removing the cover of the switch box. You might need to use a screwdriver for this.
Next, carefully disconnect the wires from the old switch. Make sure you label each wire so you know where it goes when you're installing the new switch. It can be a bit confusing, especially if there are multiple wires.
After you've disconnected the wires, remove the old switch from the mounting bracket. You might need to unscrew it or use some other method depending on how it's installed.
Step 6: Install the New LCD Display Pump Switch
Now comes the fun part - installing the new LCD display pump switch. Start by mounting the switch on the same bracket where the old switch was located. Make sure it's securely attached.
Next, connect the wires to the new switch according to the labels you made earlier. Double-check the connections to make sure they're tight and secure. You don't want any loose wires causing problems later on.
Once the wires are connected, put the cover back on the switch box. Make sure it's properly sealed to protect the switch from dust and moisture.
Step 7: Test the New Switch
After you've installed the new switch, it's time to test it. Turn the power back on and see if the switch is working properly. Check the LCD display to make sure it's showing the correct information.
You can also test the adjustable pressure settings to see if they're working as expected. If everything seems to be working fine, then congratulations! You've successfully upgraded to an LCD display pump switch.
Step 8: Make Any Necessary Adjustments
Even if the switch is working fine, you might need to make some adjustments to optimize its performance. For example, you might need to adjust the pressure settings based on your specific needs.
You can also calibrate the display to ensure that it's showing accurate information. This might take a bit of trial and error, but it's worth it to get the best performance out of your new switch.
Step 9: Regular Maintenance
Once your new LCD display pump switch is up and running, it's important to perform regular maintenance. This includes checking the connections, cleaning the display, and making sure the switch is functioning properly.
Regular maintenance will help extend the lifespan of your switch and ensure that it continues to work reliably.
Conclusion
Upgrading to an LCD display pump switch is a great way to improve the performance and functionality of your pump system. By following these steps, you can make the upgrade process as smooth and hassle-free as possible.
If you're interested in purchasing an LCD display pump switch or have any questions about the upgrade process, don't hesitate to get in touch with us. We're here to help you find the right solution for your needs.
References
- General knowledge of pump systems and LCD display pump switches from years of experience in the industry.